It’s no secret that people love to work on DIY projects, with data showing that US DIY sales will probably reach $391.2 billion in 2018.
Tiling is one of the most popular DIY projects that people love to take on. But if you’re looking to lay some tiles of your own, you may not know how to begin.
Check out these five tips that’ll help you tackle a DIY tile installation with ease. Digest everything in the post, and you’ll go from being a timid tiler to a tiling titan.
Let’s begin!
1. Determine How Much You’ll Need
Carefully measure the ‘square-footage’ of the room you want to tile and get someone else to verify your measurements.
Once you have your measurements, you should that you buy around 10% more than the amount you’ve measured. This’ll allow you to recover from any mistakes you may make during the tiling process.
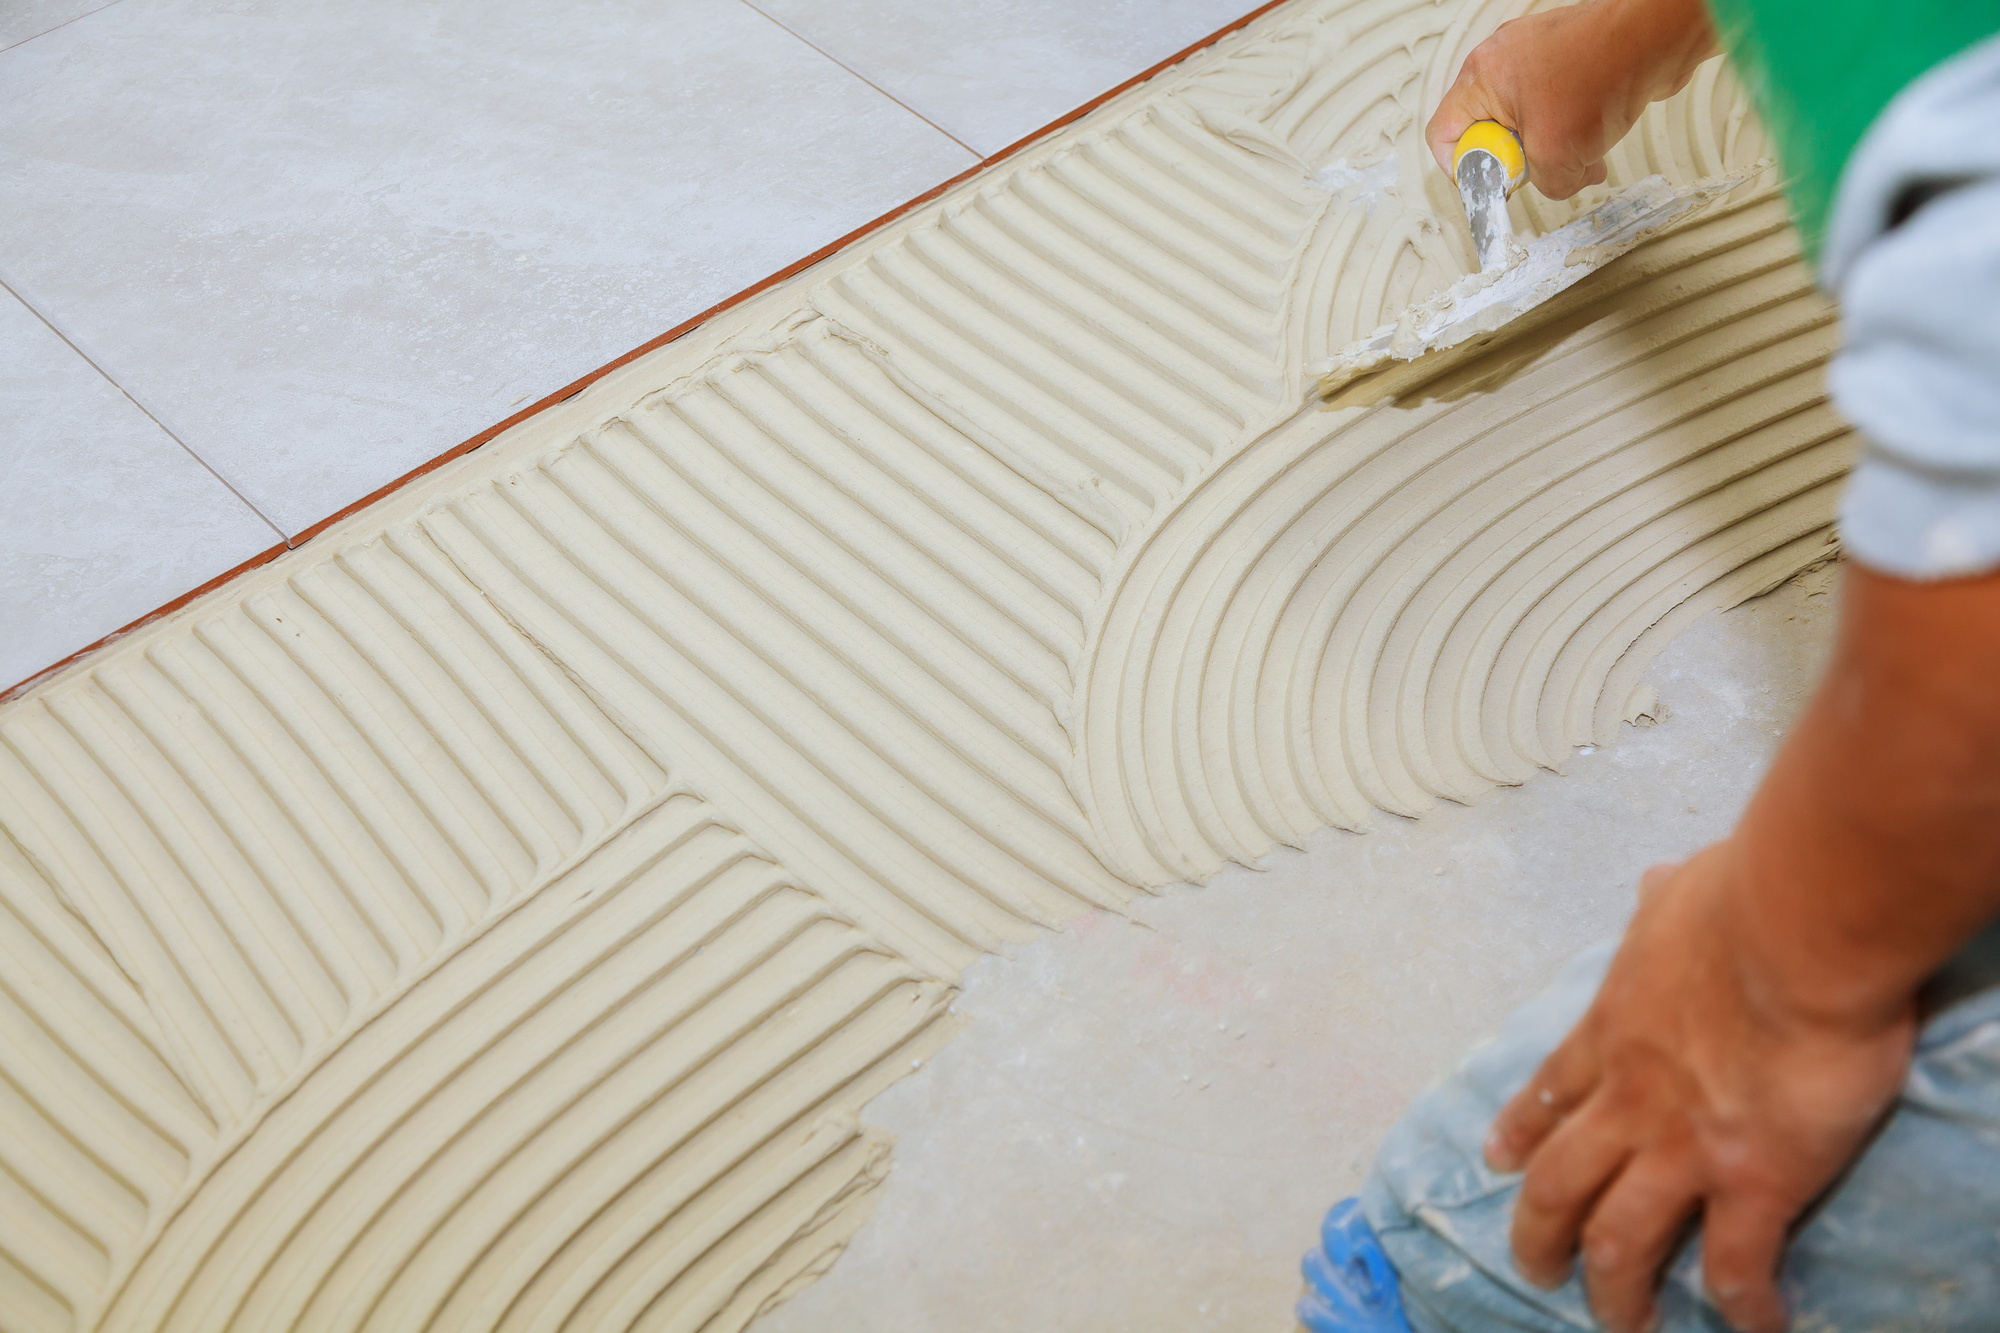
2. Make Sure the Floor Is Flat
You can make the process of tiling a lot easier if you take steps to make the floor flat.
One way you can do this is by using a ‘self-leveling’ compound. This is a special mixture that you pour onto the floor, before laying the tiles. This mixture will automatically even itself out, thereby providing you with a flat surface.
3. Do Half at a Time
By doing only half of the room at a time, you give existing tiles the chance to ‘set.’ This is important, as it ensures that you won’t disturb them when trying to work around them.
If you’re tiling an important room in your house, such as a bathroom, doing things this way also means that you won’t lose access to the room.
4. Cut With Precision
Some rooms will have awkward sections that need to be tiled, and you’ll need to cut the tiles to fit these sections.
One option is to invest in a traditional tile cutting tool, that makes use of a saw blade. Alternatively, you can use a cutting device that makes use of waterjet nozzles to produce precision cuts.
A traditional tile cutter might be the cheaper option, but you may struggle to achieve a high level of precision with this tool. Thus, if you want to make the task as easy as possible, a water jet cutter might be the better option.
5. Buy High-Quality Grout
The grout you use can have a significant impact on how long your tiles last, but also how good they will look over time. You need to find yourself a grouting solution that is waterproof but also mold-resistant.
Ready to Tackle a Tile Installation?
A new set of tiles can dramatically improve the appearance of a room. But if you install tiles the wrong way, you can leave the room looking a lot worse than it did originally.
In this post, we’ve covered five tips that’ll help you complete a DIY tile installation. That said, you may find that these tips are overwhelming and you may still have some doubts about your ability to install tiles.
If you feel this way, think about working with a small tiling project, to begin with. If you can practice on a small scale, you’ll eventually feel a lot more confident when trying to tile an entire room.
Thinking about updating your kitchen? Here’s how you can get the job done on a budget!