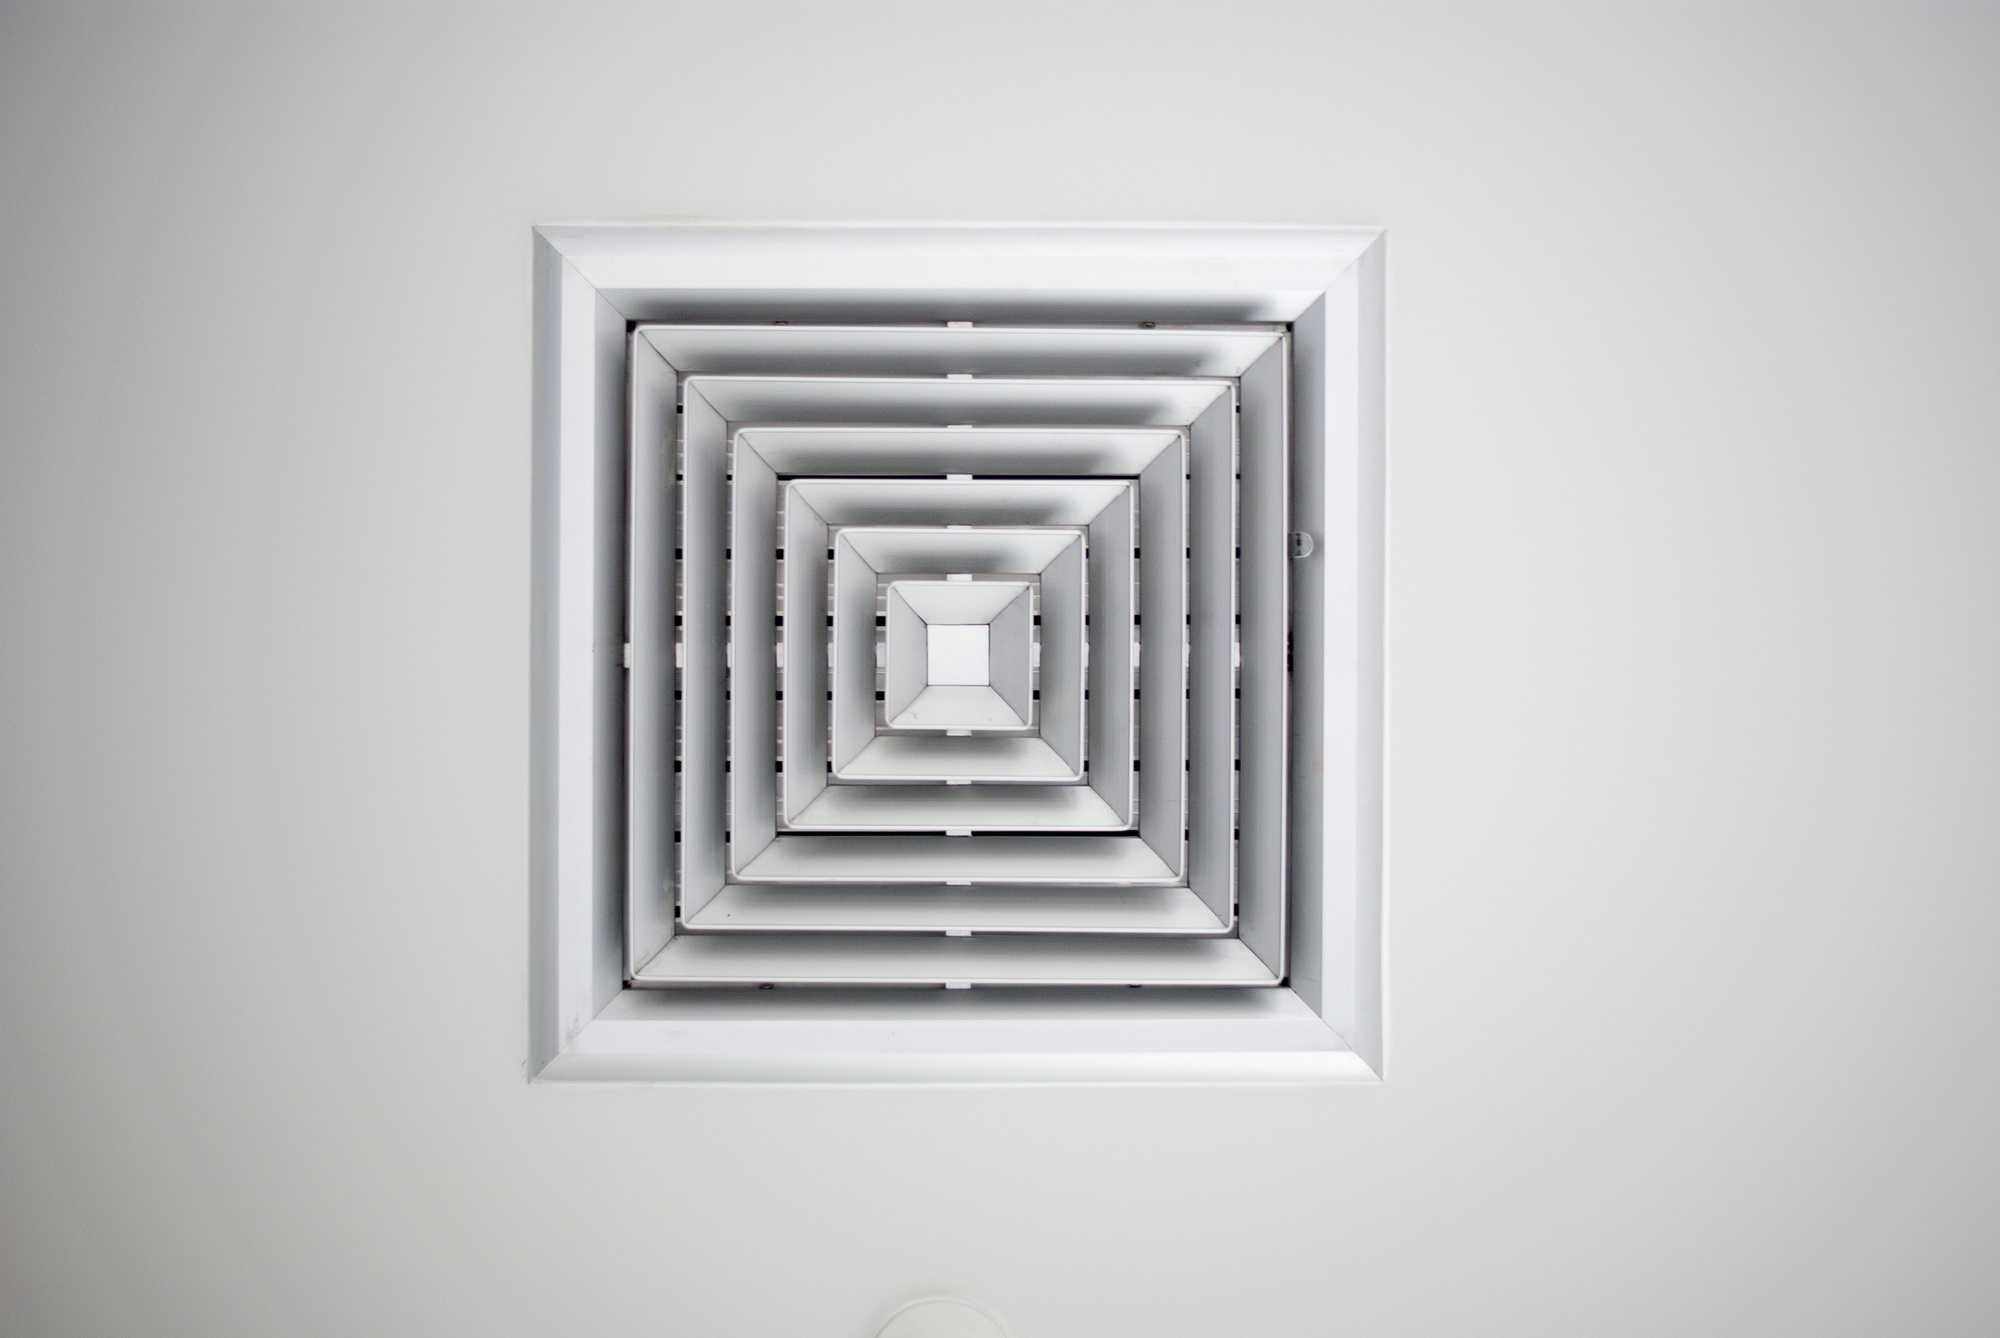
Is it something you should clean every Sunday? Probably not.
Is it something you should clean every spring? Definitely.
There are tons of reasons to bite the bullet and clean out your air ducts. Whether the seasons are changing or if you’re just trying to save a pretty penny on your electric bill, cleaning out your air ducts is a must. If you don’t know how to clean them, fear not.
We’re going to take you through the step-by-step process on how to clean air ducts yourself.
Read on to get started.
What You’ll Need
There are a few things you’ll need before you get started cleaning. Make sure you have the following:
- Vacuum
- Long-handle brush
- Screwdriver
- Antimicrobial cloth
- New air filter
Cleaning out your air ducts is a fairly simple process, however, if you don’t already have these items (especially a good vacuum with a hose), it may be easier to go the professional route. There are many professional contractors that handle air duct cleaning in Austin, TX.
How to Clean Air Ducts Yourself Step-by-Step
Keep in mind while reading our step-by-step guide that some home ventilation systems vary. Your supply registers may be on the ceiling or floor, it may take different steps to turn on the fan, and each air filter will be size specific.
1. Cover Up Supply Registers
If you’re not familiar with the technical term, the supply registers are the air vents throughout your home.
Take a small towel, could be a paper towel, and cover up the vent. This will prevent any excess dust from flying out and filling up your bedroom. Pick one supply register to start working on and use the screwdriver to remove the cover.
2. Turn On the Fan
You’ll want to turn the fan on while you are cleaning to help you move the dust along.
Set the thermostat to fan only and shut off the heat/cool setting. If you don’t see a fan only option, you can run the heat.
3. Break Up the Dust
If you have any exposed air ducts in your attic or basement, you’ll want to tap on them with your screwdriver to help loosen some of the moist dust that’s collected. Try to tap along the duct wherever it is exposed.
Be careful not to damage the duct.
4. Clean the Duct Walls
It’s time to vacuum out the duct walls. Start at the supply register that you removed the cover from and grab your vacuum hose. Start vacuuming out the clumps of dust around the sides of the vent. Use the hose to sweep out the inside of the vent as far as you can reach.
Use the brush to help you get those stuck on, hard to reach pieces of moist dust.
5. Finish Up the Job
Once you’re all done with the inside, it’s time to take your antimicrobial cloth and wipe up the edges. Replace the cover on your supply register and start on the next one. Repeat this process until you have cleaned each supply register.
Don’t forget to replace the air filter once you’re all done!
Nothing to It but to Do It
Ready to get started? Learning how to clean air ducts yourself is a simple, yet rewarding process. Not only will you see a big chunk of your electric bill back in your wallet, but you’ll also be rewarded with clean and fresh, dust-free air.
What could be better?
If you’re really a fan of having clean air in your home, check out these 5 benefits of having purified air in your home.
If you don’t think a quick cleaning is gonna cut it, check out our recommendations for the best AC units.

